Shingle roofs are a popular choice for homeowners due to their versatility, with asphalt and wood being common materials. Preparation for roof installation is crucial, focusing on structural integrity checks, debris removal, and proper ventilation. The guide offers a step-by-step process, emphasizing tool requirements and proper techniques. Correct installation prevents costly repairs; avoid preparing the deck inadequately or deviating from manufacturer guidelines. Well-maintained shingle roofs last 25-30 years, with regular inspections, cleaning, and repair extending their lifespan.
“Elevate your home’s exterior with a reliable and aesthetically pleasing roof—shingle roofs are a popular choice for many. This comprehensive guide delves into the intricacies of installing a shingle roof, from understanding various materials and styles to mastering the step-by-step process. Learn how proper preparation, including assessing your roof’s suitability, ensures a successful project. Discover essential tools, common pitfalls to avoid, and expert tips for maintenance, guaranteeing longevity. Optimize your roof installation with this ultimate resource.”
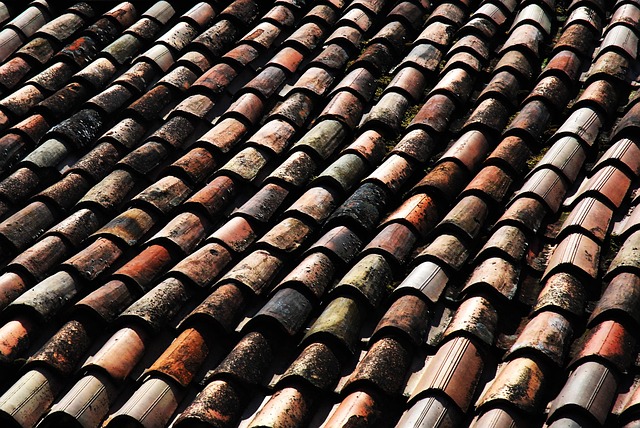
Understanding Shingle Roofs: Materials and Styles
Shingle roofs are a popular choice for home owners considering roof installation, offering a wide range of materials and styles to suit various tastes and climates. Typically made from asphalt or wood, shingles come in diverse colors, textures, and designs. Asphalt shingles, the most common type, are known for their durability, affordability, and ease of maintenance. Wood shingles, on the other hand, provide a more traditional look and can enhance the curb appeal of a home, but they require regular upkeep to prevent rot and damage.
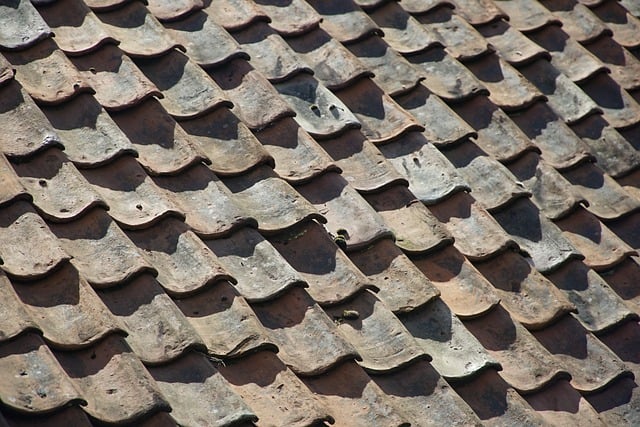
When it comes to styles, shingles can be flat, dimensional (or three-dimensional), or architectural, each with unique characteristics. Flat shingles lay flat against the roof surface, offering a sleek and modern aesthetic. Dimensional shingles, also known as laminated or multi-layer, have raised edges that provide better protection against wind and extreme weather conditions. Architectural shingles are designed to mimic the look of tile or slate roofs, adding a touch of elegance to any home.
Preparation for Installation: Assessing Your Roof

Before starting any roof installation, including shingle roofs, thorough preparation is key. The first step in this process involves carefully assessing your roof to ensure it can withstand the installation and will serve its purpose effectively. This includes examining the current state of your roof structure, checking for any signs of damage or wear, and evaluating the overall condition of the underlayment. It’s crucial to assess slope and drainage as well, as these factors play a significant role in the longevity of your new shingles.
During this preparation phase, you should also clear your roof of any debris, ensure proper ventilation, and verify that all components are securely fastened. These initial steps will provide a solid foundation for the upcoming installation process, ensuring a more efficient, safer, and ultimately more successful roof installation.
Step-by-Step Guide: Shingle Laying Techniques
To install a shingle roof, start by preparing the surface, ensuring it’s clean and free of debris. Then, begin at the bottom edge of the roof, securing the first row of shingles with nails or staples, following manufacturer guidelines for spacing. Overlap each subsequent row by 3-6 inches, creating a water-tight barrier. Use a level to ensure proper alignment. For corners and edges, cut shingles to fit and secure them tightly. When reaching the peak, install a ridge cap to seal off the roofline, completing the installation process. Regular maintenance, including checking for loose or damaged shingles, ensures your roof remains in top condition throughout its lifespan. Remember, proper techniques ensure not just a sturdy roof but also peace of mind knowing your home is protected from the elements.
Tools and Equipment Required for a Successful Installation

Shingle roof installation requires a variety of tools and equipment for a successful project. Before starting, gather essential items such as safety gear including gloves, goggles, and a hard hat. Also necessary are roofing nails or screws, a hammer or electric nailer, a measuring tape, and a level to ensure precise and secure shingling. For cutting shingles, a utility knife or circular saw with a fine-tooth blade is required, along with a roof underlayment for added protection against moisture. Additionally, a ladder is crucial for reaching higher areas of the roof.
Proper tools make the installation process smoother and more efficient. A roofing square helps in measuring and marking the roof’s dimensions accurately. An electric shingling machine can significantly speed up the task by quickly driving nails or screws into the shingles. For ventilation, ensure you have adequate vents and flashing to maintain a healthy attic space, preventing heat buildup and moisture issues that can compromise your roof’s integrity over time.
Common Mistakes to Avoid During Shingle Roof Installation

When installing a shingle roof, several common mistakes can be avoided to ensure a durable and aesthetically pleasing finish. One of the most crucial errors is inadequate preparation of the roof deck. It’s essential to ensure the deck is clean, dry, and free from any debris or existing damage. Neglecting this step can lead to poor adhesion of shingles, resulting in leaks and early replacement costs.
Another frequent mistake is not following the manufacturer’s instructions regarding shingle placement and overlap. Shingles should be installed starting from the bottom edge of the roof, with each layer overlapping the previous one by a specific percentage specified by the manufacturer. Misinterpreting or skipping this crucial step can compromise the roof’s water-tightness and overall integrity.
Maintenance and Longevity of Shingle Roofs
Shingle roofs, when installed correctly, offer a durable and low-maintenance option for homeowners. Regular upkeep is key to ensuring their longevity; annual inspections can catch any potential issues early on. Simple tasks like clearing debris, repairing loose shingles, and sealing flashing extend the life of your roof. With proper care, asphalt shingles can last 25-30 years, providing a solid investment for any roof installation.
Over time, environmental factors and exposure to UV rays can take a toll on shingles. Shifting weather patterns, falling branches, and even small earthquakes contribute to wear and tear. Understanding these factors allows homeowners to be proactive in their roof maintenance. Regular cleaning, repair, and replacement of missing or damaged shingles are essential practices for maintaining the structural integrity and aesthetic appeal of your home’s roof installation.