Shingle roofs are a popular choice for homeowners due to their durability, versatility, and affordability. Asphalt shingles are the most common, offering longevity and easy installation in various colors and textures. Other options include metal, ceramic, and wood shingles, each with unique visual appeals and considerations. Selecting the right material based on climate and architectural style is crucial.
Successful roof installation requires meticulous preparation: property inspection, detailed project planning, cleaning the roof deck, and installing an underlayment for protection. Specialized tools and safety gear are essential, ensuring efficiency and quality workmanship. Underlayment choices vary by climate, with felt paper, rubberized asphalt, and foam options available.
Proper gaps and overlaps between shingles enhance water tightness and durability, following manufacturer guidelines for recommended spacing. Flashing and ventilation are vital for waterproofing and optimal airflow, preventing mold growth. A final inspection ensures all components are secure, undamaged, and maintained regularly to protect the roof effectively.
Looking to install a new shingle roof? This comprehensive guide breaks down the process from start to finish, ensuring a successful and durable roofing system. We’ll explore various materials and styles of shingles to suit your preferences and budget. From preparation and tools to underlayment selection and application techniques, you’ll gain the knowledge needed for a professional-grade roof installation. Learn best practices for gaps, overlaps, flashing, ventilation, and final inspections to safeguard your home against the elements.
Understanding Shingle Roofs: Materials and Styles

Shingle roofs are a popular choice for many homeowners due to their durability, versatility, and relatively low cost compared to other roofing materials. When it comes to understanding shingle roofs, the first step is recognizing the variety of materials and styles available in the market today. Asphalt shingles are the most common type, known for their longevity and ease of installation during a roof installation process. They come in various colors and textures, allowing homeowners to match their existing decor or choose a new aesthetic.
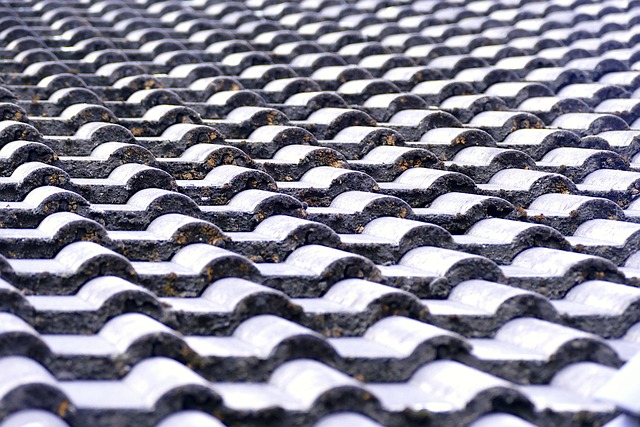
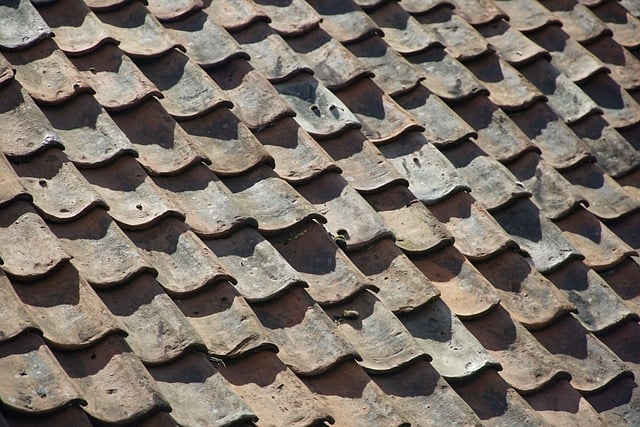
In addition to asphalt, other materials like metal, ceramic, and wood shingles offer distinct visual appeal. Metal shingles are lightweight yet sturdy, while ceramic tiles provide a unique, rustic look. Wood shingles, though more expensive, add natural beauty and character to any home. Each material has its own set of advantages and considerations, making them suitable for different climates and architectural styles. Understanding these options is key when planning a roof installation project.
Step-by-Step Guide to Installation Preparation
Before starting the actual roof installation, thorough preparation is key for a successful and durable shingle roof. Begin by inspecting your property to ensure it meets the basic requirements for roofing, including assessing the structure’s integrity and checking for any signs of damage or potential issues. Create a detailed plan outlining the project scope, materials needed, and timelines. This step involves gathering all necessary tools, shingles, underlayment, fasteners, and flashing supplies.
Next, prepare the roof deck by ensuring it is clean, dry, and free from debris. Check for any existing roofing material remnants and remove them properly. Install the underlayment, a protective barrier that provides added insulation and serves as a secondary defense against leaks. Ensure proper ventilation in the attic space to maintain optimal temperature control and reduce moisture buildup, which can cause shingle damage over time.
Tools and Equipment Required for the Job

When preparing for a shingle roof installation, having the right tools and equipment is paramount to ensure efficiency, safety, and quality workmanship. For this task, you’ll need several key items tailored to the specific requirements of roof work. These include heavy-duty safety gear such as hard hats, eye protection, gloves, and steel-toed boots—essential for protecting against falling debris and ensuring stability during the installation process.
Hand tools like hammer, nails, and a roofing knife are fundamental, while power equipment such as a nailer or stapler can significantly speed up the process. Additionally, a ladder suitable for reaching roof heights, along with ropes and safety harnesses, is crucial for navigating the job site securely. Don’t forget measuring tools like tape measures and levels to ensure precise cuts and installations. These tools form the backbone of any successful shingle roof installation project.
Underlayment: Its Role and Types

In any roof installation, underlayment plays a crucial role in protecting your home from potential damage and prolonging the lifespan of your shingles. It acts as a secondary barrier against moisture, extreme temperatures, and environmental elements, ensuring that any leaks or issues are contained before they can escalate. Underlayments come in various types tailored to different climates and roofing needs, such as felt paper, synthetic underlays like rubberized asphalt, or even foam underlayment.
Choosing the right type of underlayment is essential for a successful roof installation. For instance, felt paper is a traditional option known for its cost-effectiveness and ease of installation. Meanwhile, synthetic materials offer superior durability and resistance to moisture, ideal for regions with high rainfall or humidity. Foam underlayments, on the other hand, provide exceptional insulation properties, making them suitable for extreme temperature zones.
Shingle Application Techniques and Best Practices
When installing a shingle roof, there are several application techniques and best practices that homeowners and professional installers should adhere to for optimal results. The first step involves preparing the roofing surface, ensuring it’s clean, dry, and free from debris. This foundation is crucial for a durable roof installation. Installers often use specialized equipment to nail or screw shingles down, following a specific pattern to ensure even coverage and water tightness.
One common technique is the overlapping method, where each shingle is placed so that its lower edge overlaps the upper edge of the adjacent shingle. This creates a protective layer against weather conditions. Proper sealing at joints and around roof penetrations, such as chimneys and vents, is also essential to maintain the integrity of the roof installation. Regular inspections and maintenance can help identify any issues early on, ensuring your roof remains in top condition for years to come.
Achieving Proper Gaps and Overlaps
Achieving proper gaps and overlaps is crucial for a successful roof installation. Each shingle should be placed with precise overlap to ensure water tightness and durability. Typically, this involves starting at the bottom edge of the roof with a full course of shingles, then offsetting the next row by one-third to one-half of the shingle’s width. This pattern creates an interlocked system that distributes weight evenly and prevents water from seeping in.
Proper gaps are equally important for ventilation. Leaving small spaces between each layer allows air to circulate, helping to regulate roof temperatures and reduce stress on the roofing materials. When installing, it’s essential to follow manufacturer guidelines for recommended gaps, which can vary based on the type of shingle and local climate conditions. This attention to detail ensures a robust and long-lasting roof installation.
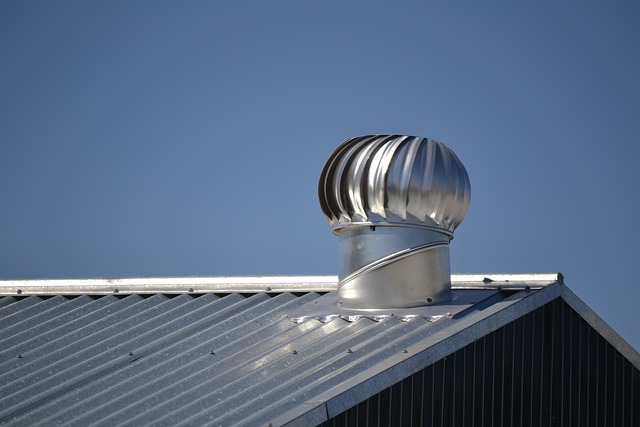
Flashing and Ventilation: Ensuring Waterproofing and Airflow
In a successful roof installation, proper flashing and ventilation are crucial components for maintaining waterproofing and optimal airflow. Flashing, a thin layer of waterproof material, is applied at all points where two roof surfaces meet or extend, such as valleys, ridges, and around chimneys. It acts as a barrier to prevent water seepage, ensuring that rainwater runs off efficiently without finding its way into the building’s interior.
Ventilation, on the other hand, allows for the circulation of air within the roof cavity, which helps regulate temperature and reduce moisture buildup. Adequate ventilation prevents the accumulation of condensation and minimizes the risk of mold growth, thus extending the lifespan of both the roof and the structure it protects. In a well-installed roof, a balance between waterproofing with flashing and allowing airflow through ventilation is key to achieving long-lasting protection for any property.
Final Inspection and Maintenance Tips

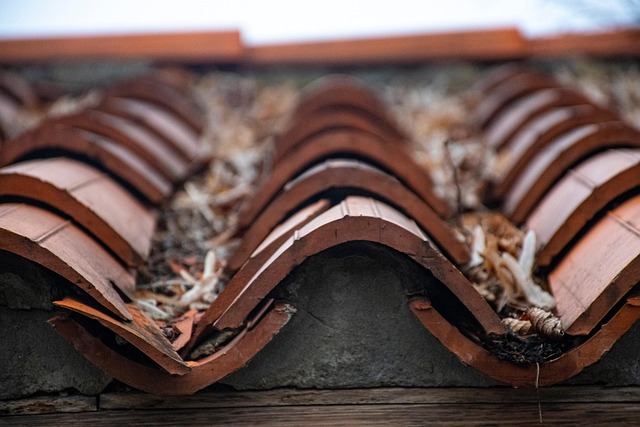
After completing the shingle roof installation, it’s crucial to conduct a thorough final inspection. Walk along the entire length of the roof, examining each section for any loose shingles, gaps, or signs of damage. Use a ladder and your roofing tools if needed to ensure everything is secure. Check that all nails or screws are properly fastened and aligned, and the underlayment is intact and flat. Look out for drainage issues; make sure water flows away from the roof and doesn’t pool in any areas. Also, verify that all vents and flashings are correctly positioned and sealed.
Regular maintenance is vital to keep your newly installed shingle roof in top condition. Schedule annual inspections to identify potential problems early on. Keep an eye out for loose or missing shingles, particularly after severe weather events or strong winds. Clean the gutters regularly to prevent clogs and water damage. Consider using a roof rake to remove debris from the roof’s edge before it accumulates. Lastly, stay informed about industry standards and best practices for roof maintenance to ensure your investment remains protected.